Description
Why is aero testing crucial?
Time trial bikes and equipment are much like F1 cars. The fastest equipment only works well in a small window of adjustment, with a large number of individually variable components. For this reason, even the most state-of-the art bike and kit can perform poorly when not adjusted properly. The difference between a “good” and “bad” setup can often be as much as 10%, event for high level athletes. If you want to use your bike to it´s full potential, aero testing is an absolute must.
Why did I start doing this?
The unique combination of man and machine has immediately made time-trialling my favorite cycling discipline. As I am coming from a motorsport background, I have immediately recognized the need for performance optimization. I refuse to stick with the old school dogmas that are so omnipresent in cycling. The very first aero test I have done back in 2019 has opened my eyes about the possibilities that lie within this field. Later on in 2021, pandemic restrictions meant that I could not travel out to my previous testing location. This fact made me look for alternatives – and later on the development of my own testing methodology, which I have been working on since. The rest is history, and with numerous TT wins and titles among me and my clients, I am confident that I can provide you with that extra competitive edge.
Why outdoor testing?
While wind tunnels are certainly great for minute equipment optimization. However, they lack one key aspect of cycling – riding an actual bike! On-bike aero is a complex topic, greatly influenced by biomechanical factors, rider visibility, comfort, power output and stability.
Track testing is certainly a closer match, but can often be daunting for a beginner rider (or even an Elite with no track experience). Not to mention the fact that the constant banking and turning on the track also puts different demands on aero, rider position and power output.
For this reason, outdoor testing is the closest possible match to actual race conditions for a road cyclist and it is always going to be the most familiar environment. Another huge advantage is the cost effectiveness. With no special venue to be booked, the cost of outdoor testing is a fraction of the other methods.
The downside? In short, the weather. As the equipment is not waterproof, nor can it perform accurate measurements in violent gusts of wind, this type of testing is seasonal and the times need to be adjusted to the conditions. Luckily though, our location offers a pleasant climate and still wind conditions, particularly in the summer months.
Why is aero testing so expensive?
Yes, we are aware that this service does not come cheap, and for this reason it might not be for everyone. However, we also know that it is much cheaper than mindlessly buying various pieces of equipment in hope of an improvement, without any verification of actual performance increases (helmets being a good example of this). Not to mention the months, possibly years of training wasted by trying to compete on sub-optimally set-up equipment.
Unfortunately there are no shortcuts or rules of thumb when it comes to cycling aerodynamics, as every component is extremely individual and interacts every other part of the system. What you are paying for when doing testing is the CERTAINTY of making well informed adjustments to your set-up and the quantification of your performance.
Providing this service ultimately requires a high level of physics knowledge, years of experience in the field and also a considerable investment into specialized equipment worth tens of thousands of euros.
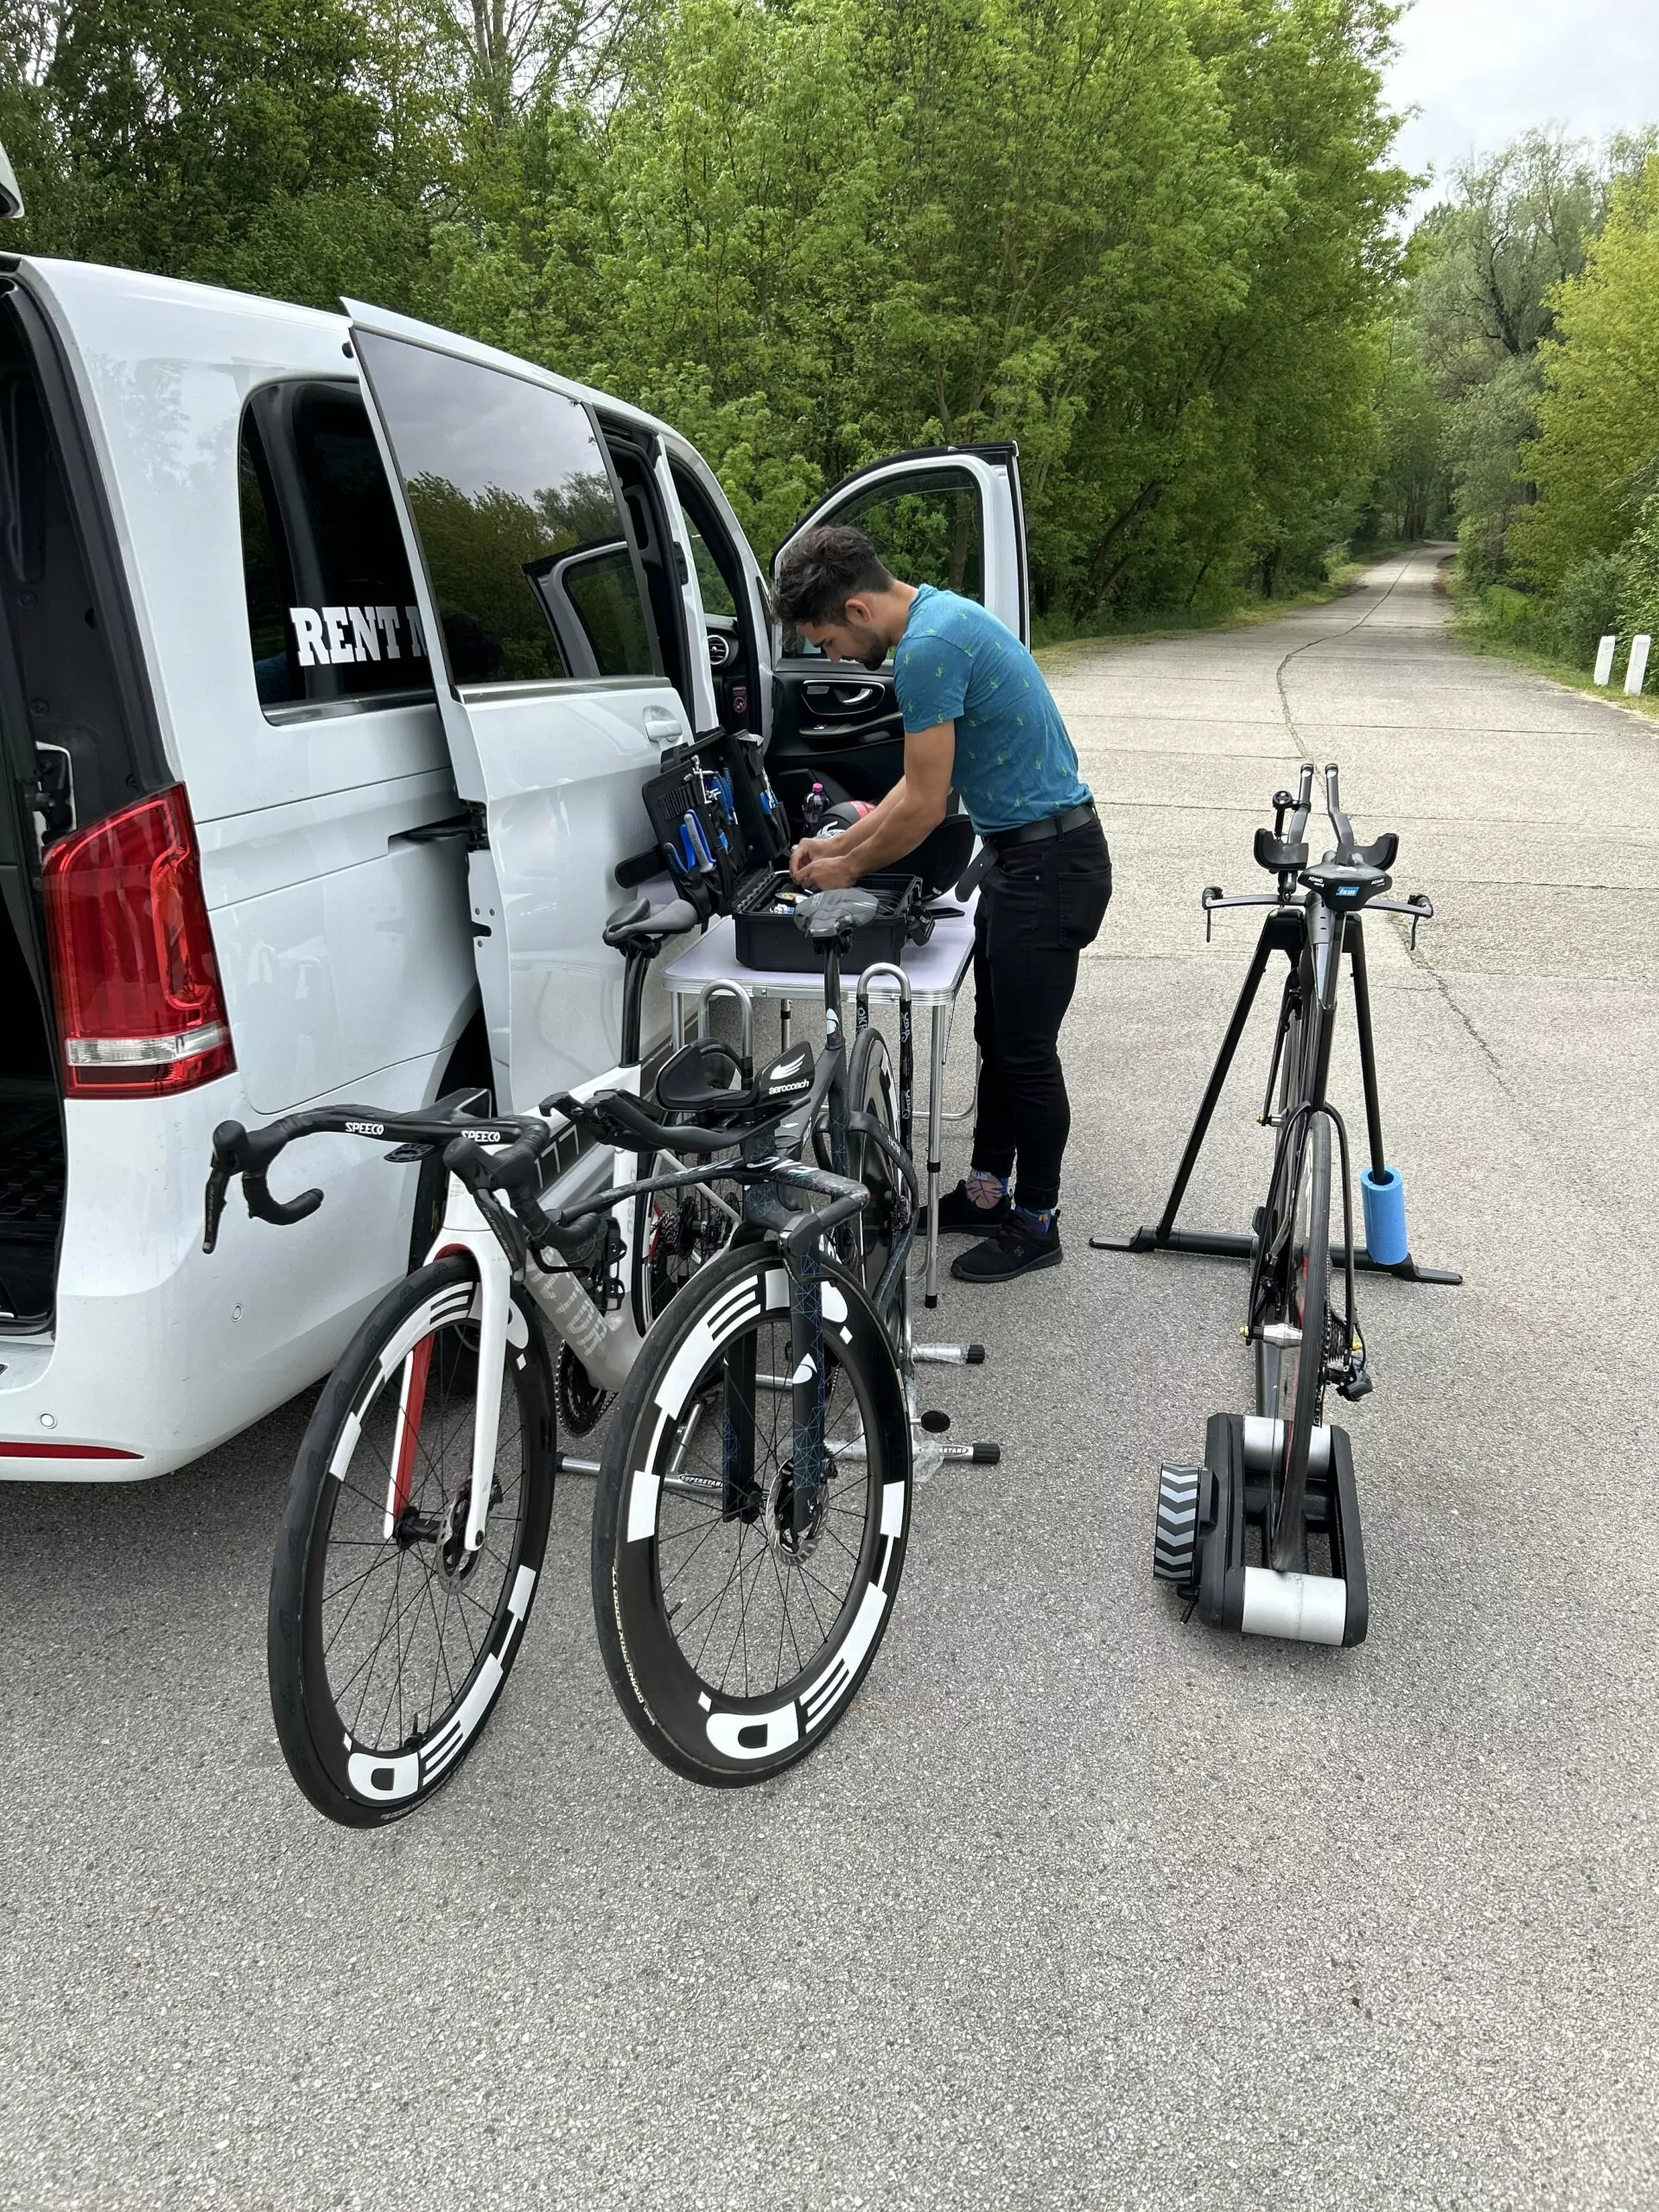
How do we test?
The testing takes places on a secluded stretch of bike path with no motorized traffic, corners or undulations. The tarmac surface is perfectly smooth. This ensures the repeatability and consistency of the results. Outdoor aero testing is greatly influenced by the weather conditions. While the equipment can compensate for changes, still conditions are preferable. Wind gusts should ideally be below 20km/h. Testing in wet weather is not possible. Temperature is not that much of a factor, but it has to be warm enough so that the rider can still use race equipment on the day.
Because of these restrictions, the weather forecast will be considered when scheduling your test event. Please inquire via email for further details.
Testing season: generally April 1st to October 15th. Exceptions allowed in case the conditions are suitable.
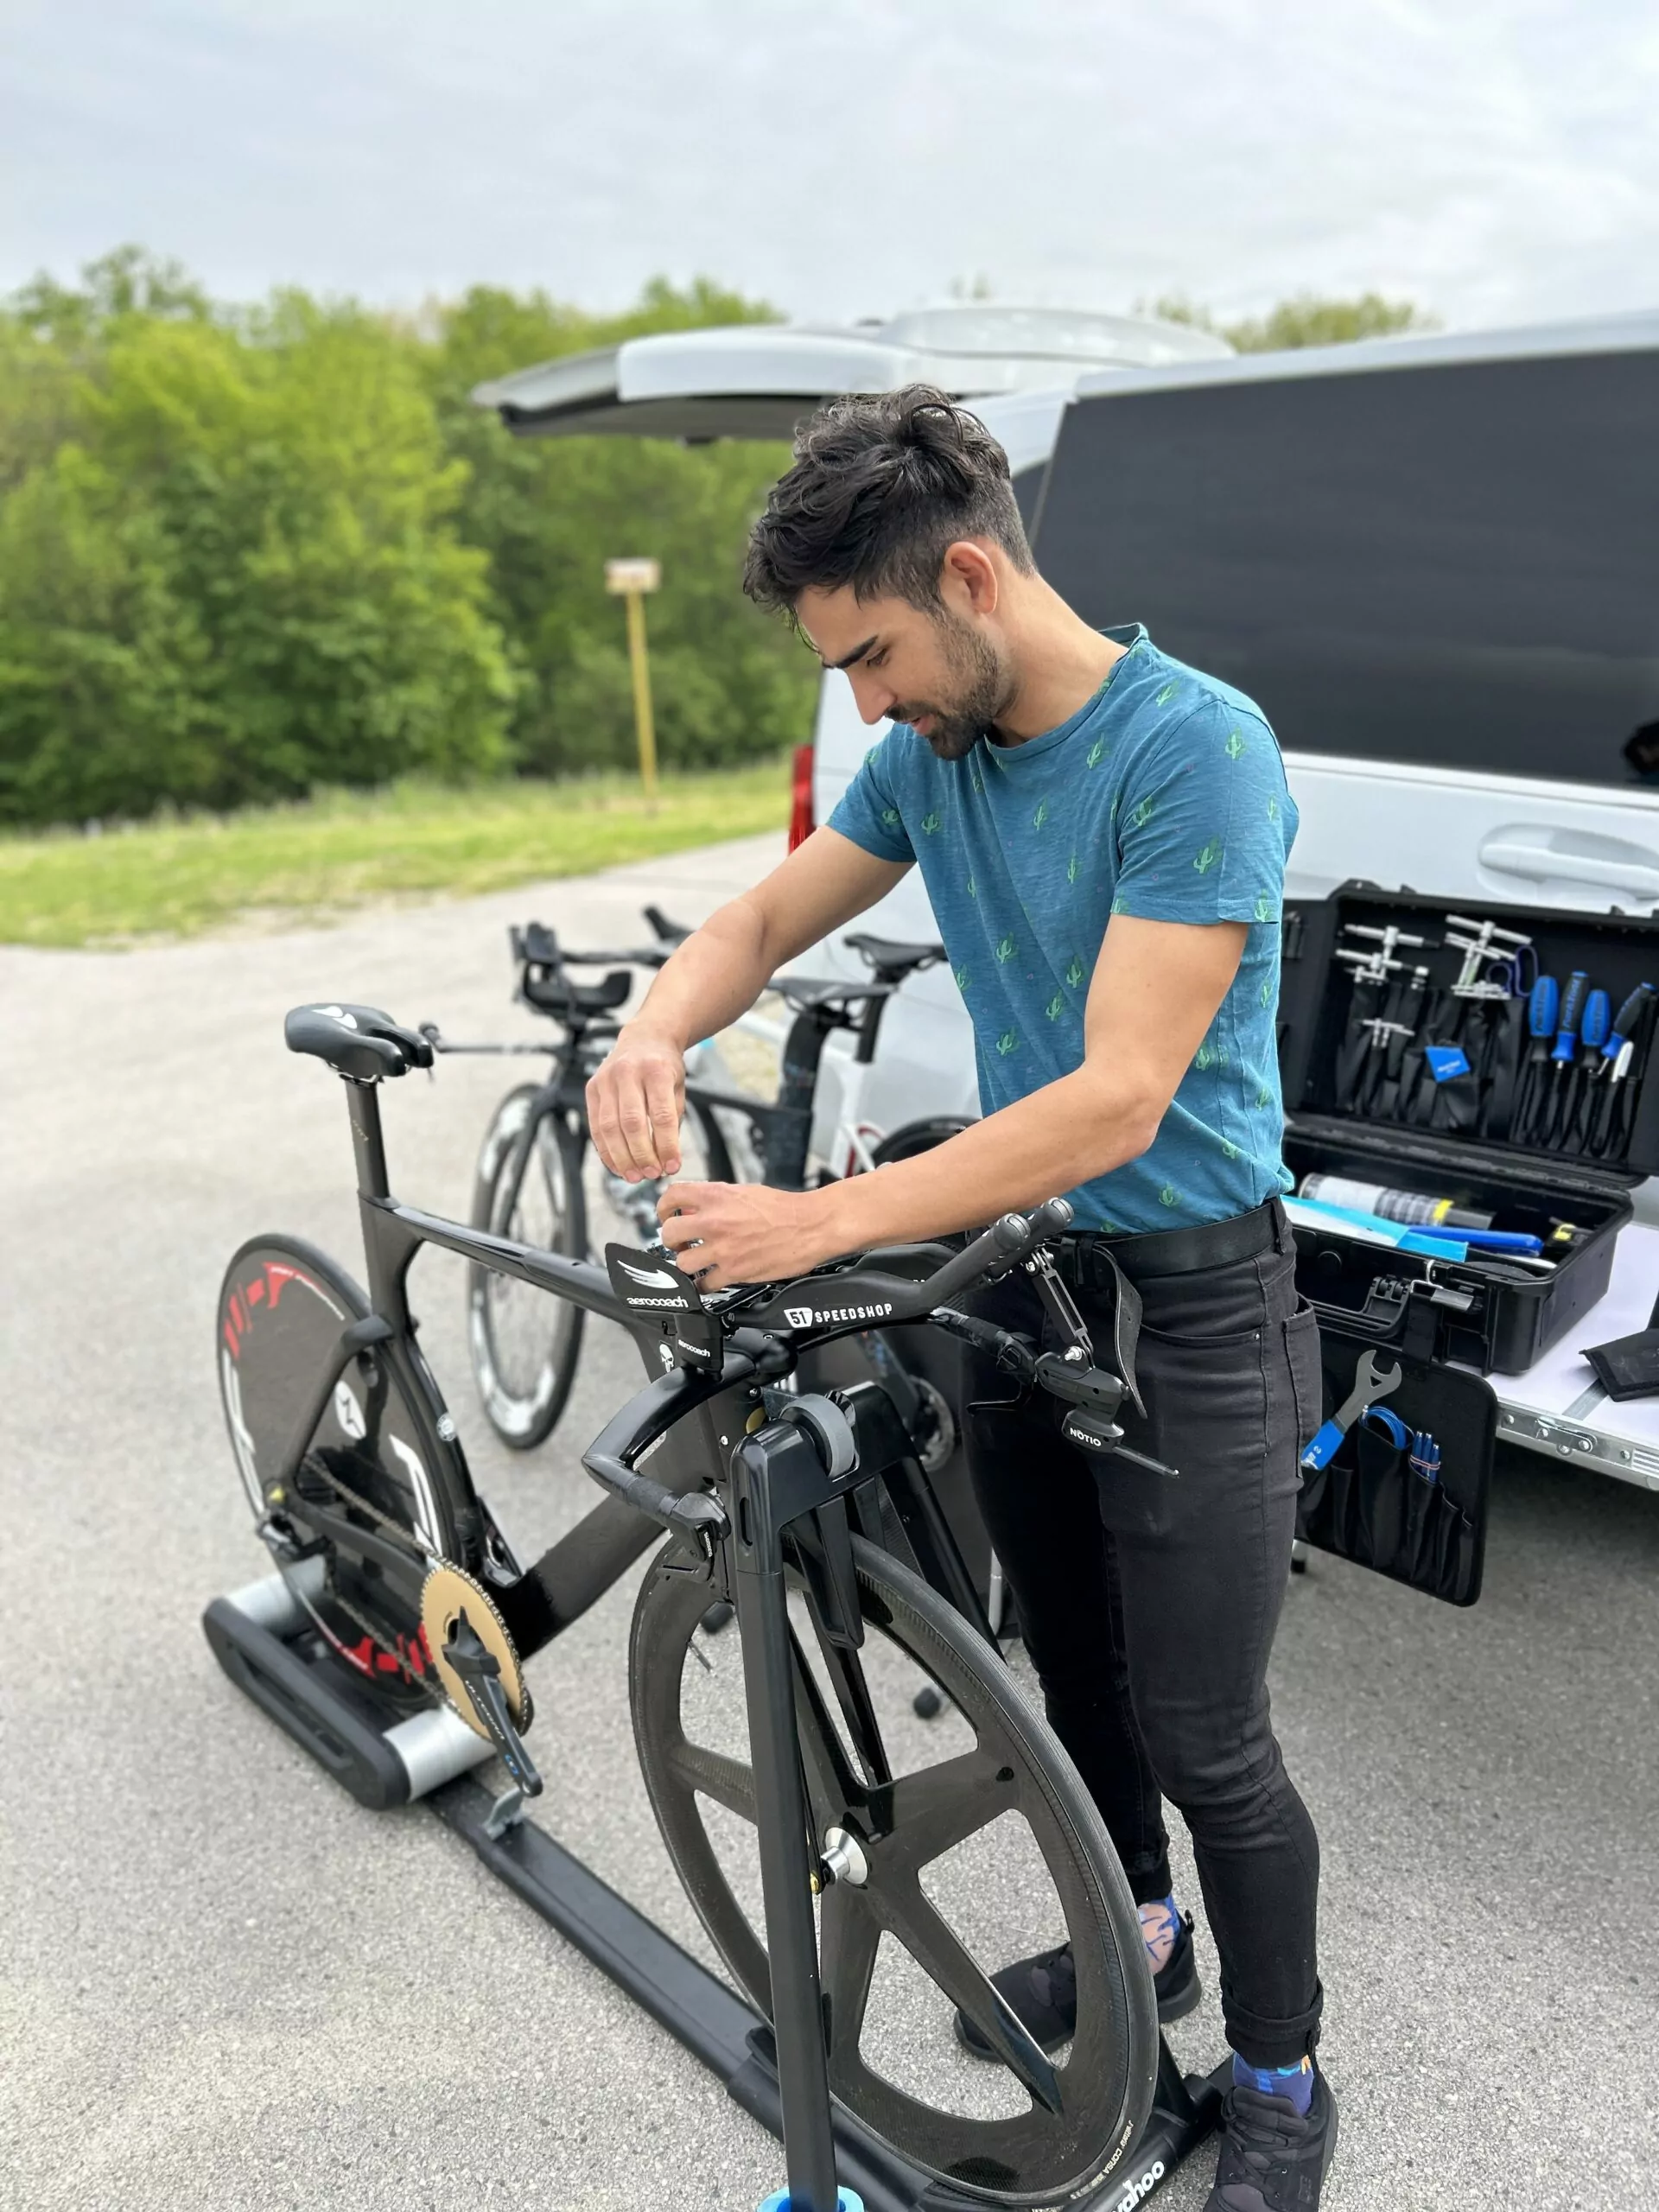
What kind of equipment do we use?
For 2024, we have upgraded to the state of the art Aerosensor system to provide robust and reliable rest results. With this new sensor suite, the accuracy of our measurements has improved dramatically this season. The error rates of our measurements are well below 1% and often below 0.4% on days with still weather.
As changes in rider position can drastically influence the measurements, we also use the Aerobody sensor to keep track of the position.
To further aid the position analysis, we are now also implementing the use of drone footage and film the rider during the test runs.
In order to perform the calculations, the system also requires reliable data from a proven power meter – hence it is a requirement to have one fitted to your bike and functioning correctly!!! Your testing data can only be as accurate as your power data!!!
Here is a list of recommended units with proven accuracy and reliability:
– Power2Max, SRM, Quarq spider based meters
– All dual sided Favero Assioma (including Duo Shi) or Pro MX pedals, Wahoo Powerlink pedals, Garmin Rally pedals
Here is a lost of not recommended/unsuitable units:
– all single sided options
– any Garmin Vector pedals
– Factory/OE Shimano power meters
– any aftermarket unit based on a Shimano crank, EXCEPT the latest Gen3 Stages/4iiii LR on R9200/R8100 cranks
If your bike does not currently have any of the “good” options described above, we can provide a pair of Wahoo Powerlink pedals for Wahoo/Speedplay users, or Favero Assioma PRO RS2/RL2 pedals for Shimano SPD SL and Look Keo users.
How many watts can I save?
Typical savings range between 15-30W @45km/h
The minimum booking/session length is 2h. We always tailor the test protocol to get the best possible result in regards to the rider´s level and equipment. We generally recommend a 3-4h session, which allows the exploration of all helmet and most position options. Achieving a fully optimized setup with all options exploited for a given rider takes around 10-15h of field testing.
What can I test?
Having an optimally selected aero helmet is usually one of the low hanging fruits that we go for within a test session. For this reason, we have a selection of the top performing units on the market available to test.
Test helmets on offer:
– Kask Mistral, size L, normal and Flapped aero visor
– Kask Bambino Pro Evo, sizes M and L, normal and Flapped aero visor
– MET Drone 2, size L
– Scott Split, size M
– Giro Aerohead 2, sizes M and L
– S-Works TT, size M
– S-Works TT5, size M
– Sweet Protection Redeemer MIPS, S/M and L/XL
– HJC Adwatt, M
– Lazer Volante Kineticore, M
– Rudy Project Wingdream, size L
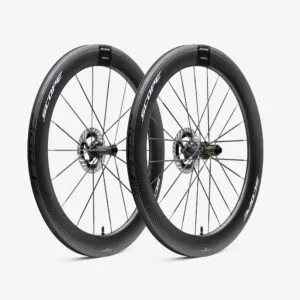
Wheels:
- Scope R6A front wheel/wheelset
- Scope R8T wheelset (coming soon)
- Scope Artech 6 front wheel/wheelset
- Scope Artech 8T front wheel
- Scope Artech Rear Disc (coming soon)
- Black Inc Zero Rear Disc
- Aerocoach Thunderbolt front wheel
- Aerocoach Titan front wheel
- Scribe Tempus 100 front wheel
- Scribe Tempus rear disc
Clothing:
- Rule28 Neo Suit Mk.2, sizes S,M,L
- Rule 28 Neo Aero Socks, sizes M,L
- Rule28 UCI Neo Overshoes, sizes M,L,XL
- Rule28 non-UCI Neo Overshoes, size M
- Rule28 Aero Gloves, size M
- Rule28 Aero Calf Guards, sizes M,L
- Swisside aero socks and calf guards, size M
Do you have any other requirements for testingequipment? Let us know what would you like to test and we will look into sourcing the necessary parts/gear!
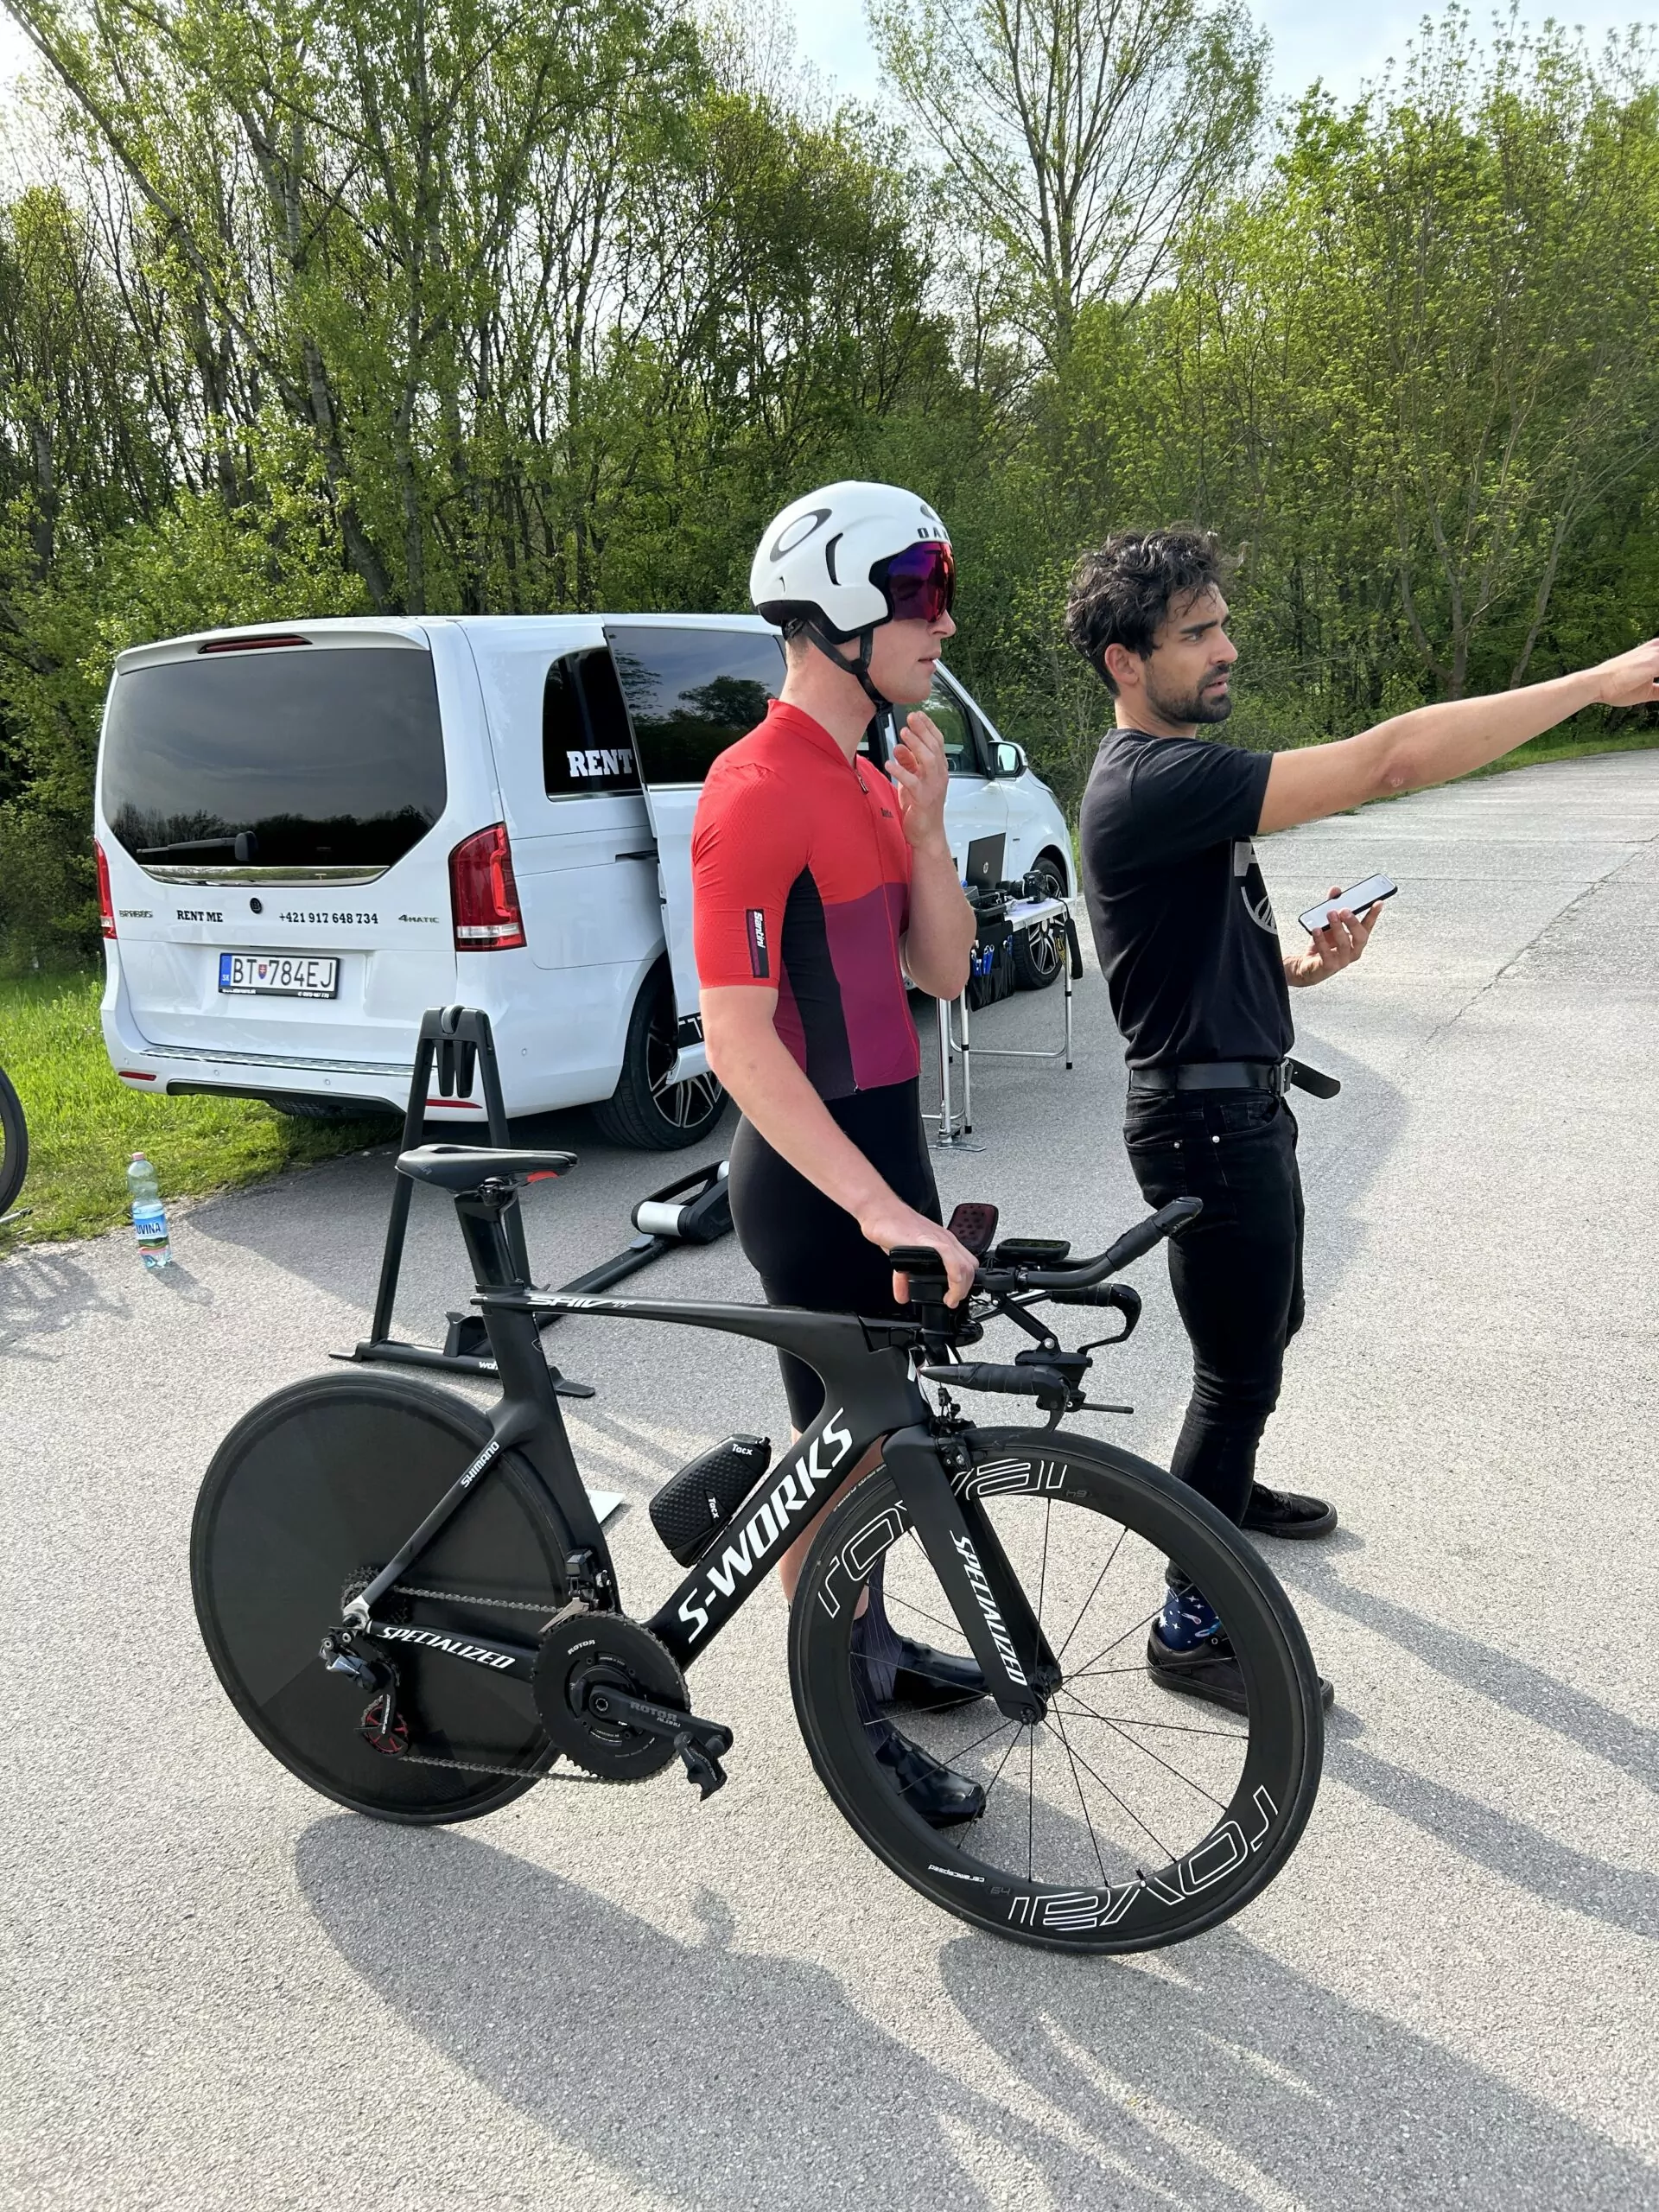
Obviously, rider position is crucially important in terms of the total aerodynamic drag. The position itself and the number of iterations we can test will depend greatly on the adjustability of your bike´s front end. To get the most out of your session, we recommend bringing all the possible fitment options that come with the bike – risers, adapters, mounts etc.
Hydration and storage options are also critically important for Triathlon bike setups, so don´t forget about bringing those either!
We highly recommend taking part in our TT bike fitting session to maximize the results of aero testing.
What do I need to start aero testing?
– an appointment booked in advance with us via email, factoring in the weather conditions and your desired length of session (=net testing time):
The session timer is started based on the start time of the first run in the session, as the length of the initial setup can vary based on your bike setup. The start time of the last testing run marks the end of the session.
– the clothing and equipment that you would wear on a race day, plus possible alternatives that you would like to test
– your bike, in a clean condition and in full working order, ideally with the drivetrain lubricated, gears working and no brake rub or other issues that impact efficiency and would hamper the measurements. All of the problems mentioned above introduce uncontrollable variables into the calculation, rendering the test runs useless.
– all fitment options, riser, adapter, mounts etc. that come with your bike
– NO LAST MINUTE changes/unproven parts with questionable functionality
– a stable, biomechanically correct saddle position. Lately, we have seen riders come in for testing with all kinds of stability issues, leading to sub-optimal aero testing results. Be sure to have this dialed already when booking, so that your aero test is not wasted.
We recommend scheduling a TT Bike fitting service to have certainty in the quality of your pedalling posture. It is also possible to have these done in a merged session. For more information about this, please inquire via email.
– sufficient nutrition and hydration to cover your needs while riding throughout the length of the session. We also provide a fridge to keep your nutrition cooled, plus have some extras on hand if needed.
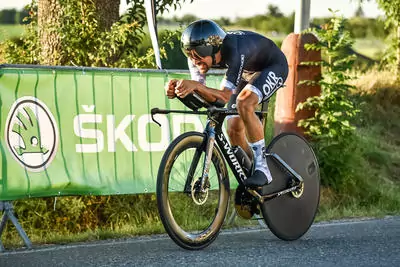
What does a testing session look like in practice?
Most of our sessions are filmed and posted to YouTube, including short descriptions of the runs.
You can watch them all in our “Aero testing diaries” playlist.
Client aero data is never published, unless otherwise requested.
Where do I need to travel for the aero testing session?
Our testing grounds are located around 15km from our headquarters in Nána, Slovakia. The closest international airports are Budapest BUD (1.5h/98km), Schwechat VIE (2.3h/192km) and Bratislava BTS (1.9h, 154km).
For international clients, we can also provide assistance with airport transfers and accommodation. Please inquire via email for individual pricing and details.
For more insights on aero testing, check out our private Discord group.
 Bicycle Components
  Bike computers
  Bike maintenance
  Brakes and accessories
  Cycling accessories
  Cycling Nutrition
  Drivetrain components
  Frame
Frame  Gear and apparel
  Indoor cycling equipment
  Mountain Bikes
  Power meters
  Recovery and care
  Road Bike and TT Wheels
  Road/TT/Tri Bikes
  Road Bike Tires and inflation
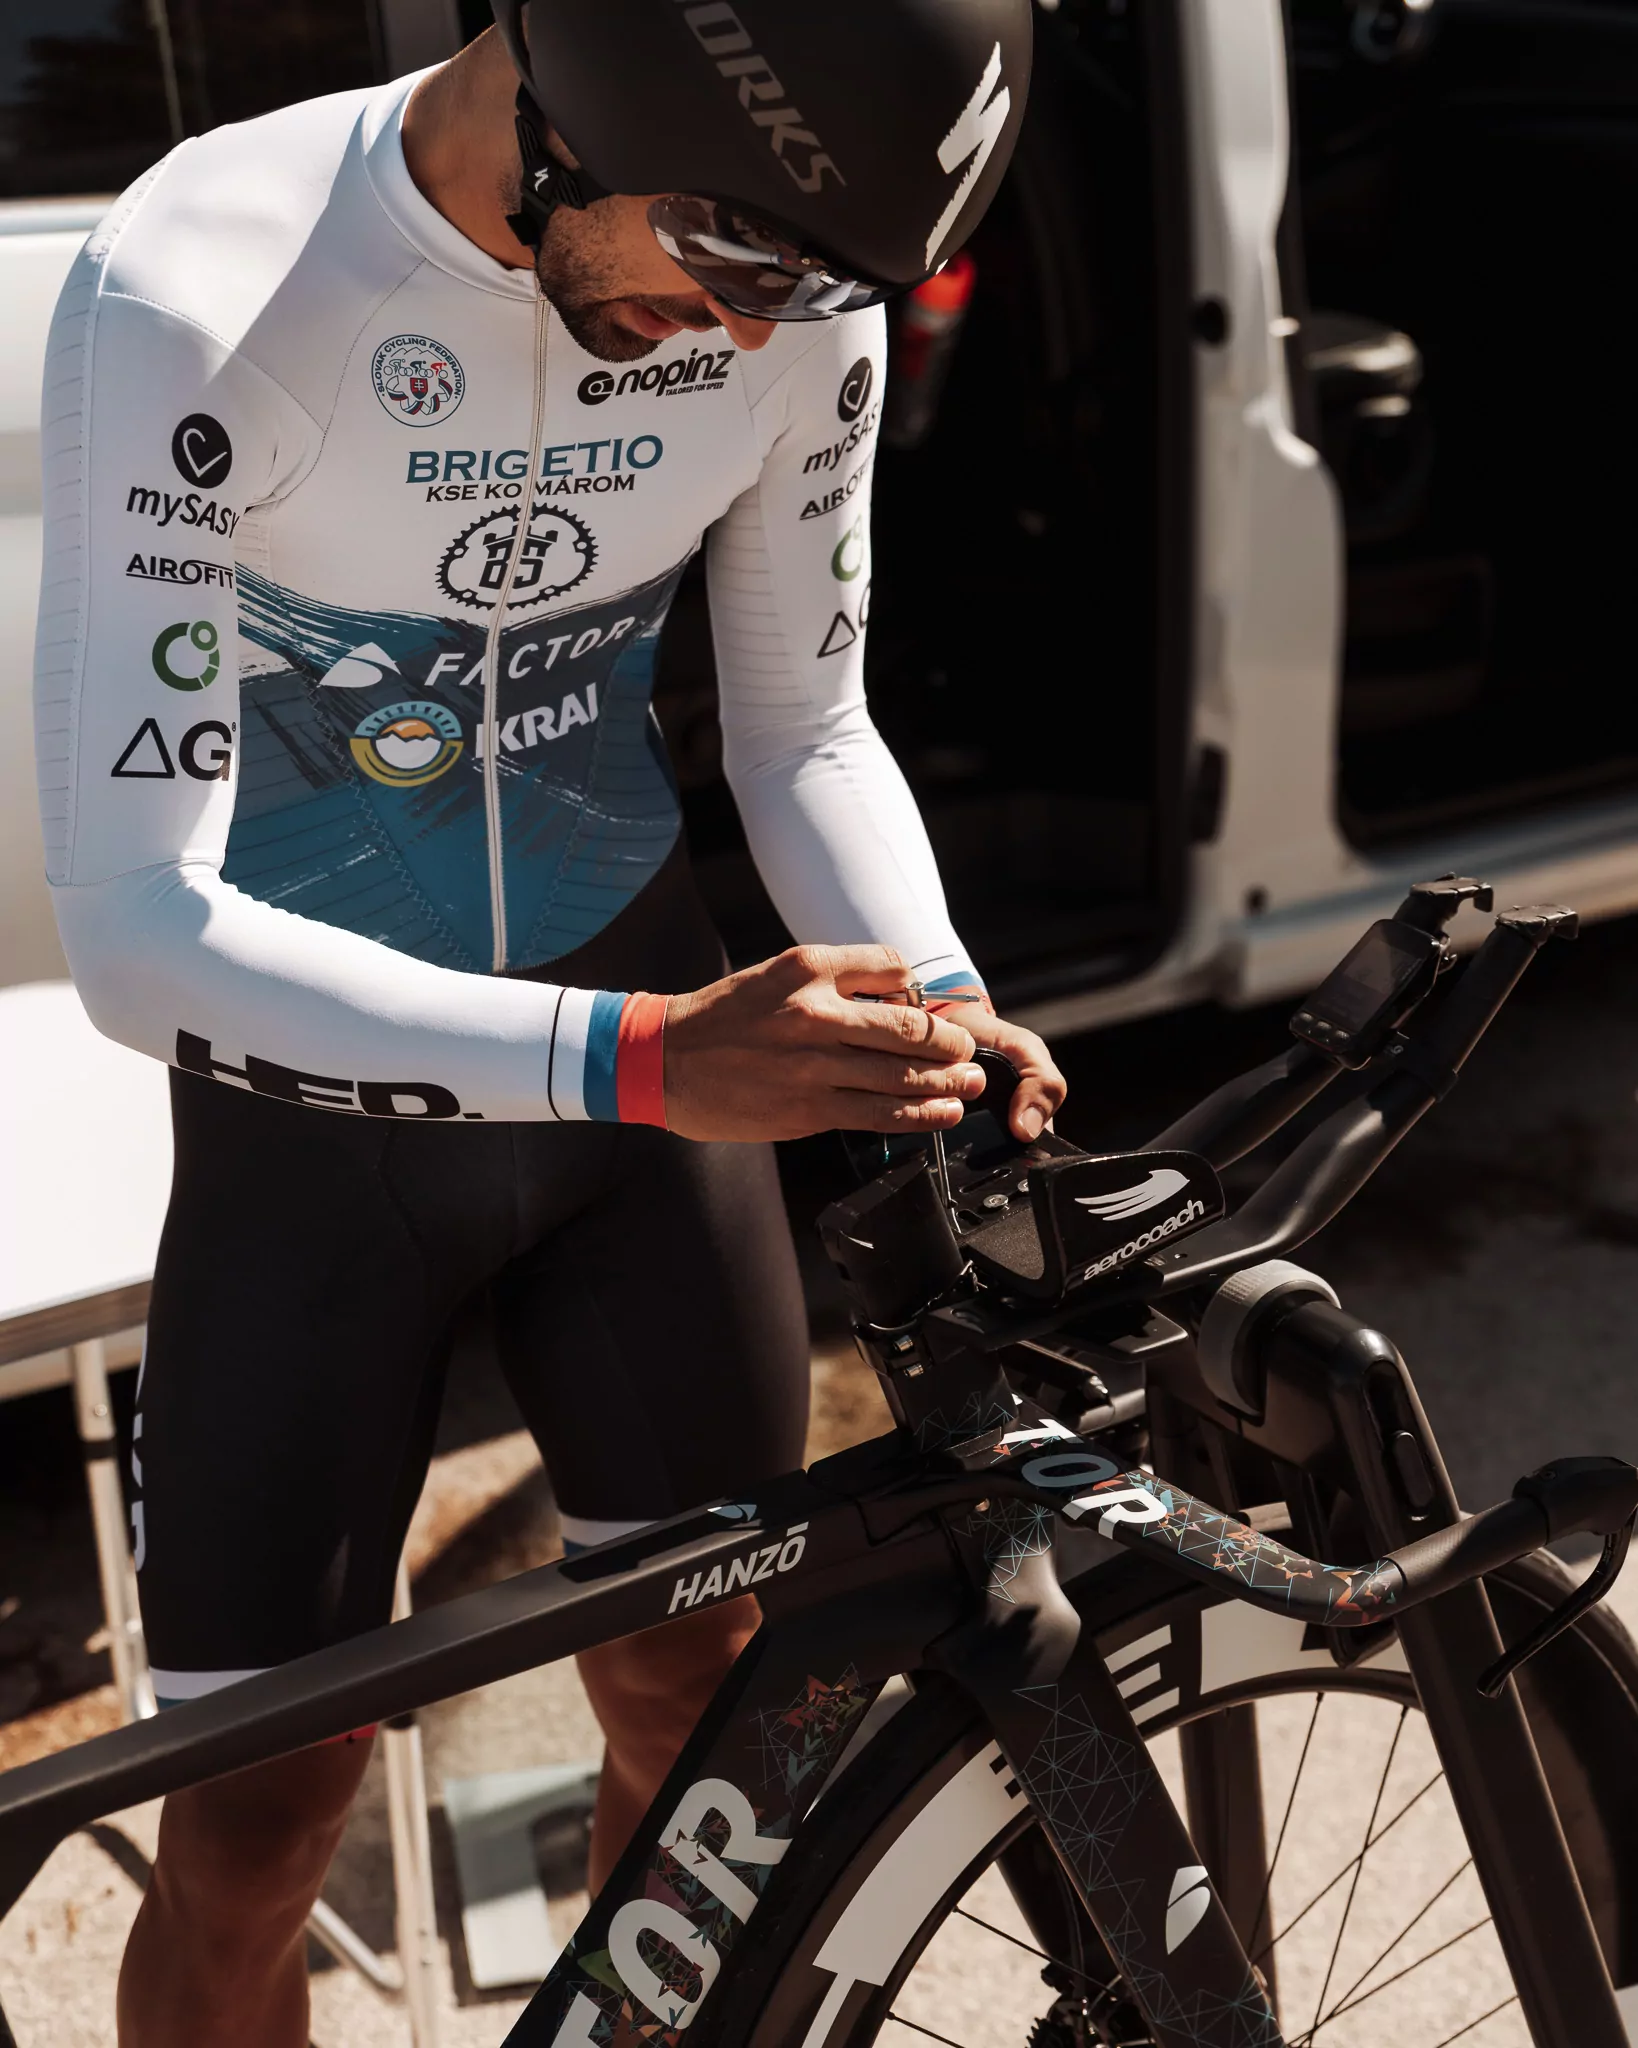


Reviews
There are no reviews yet.